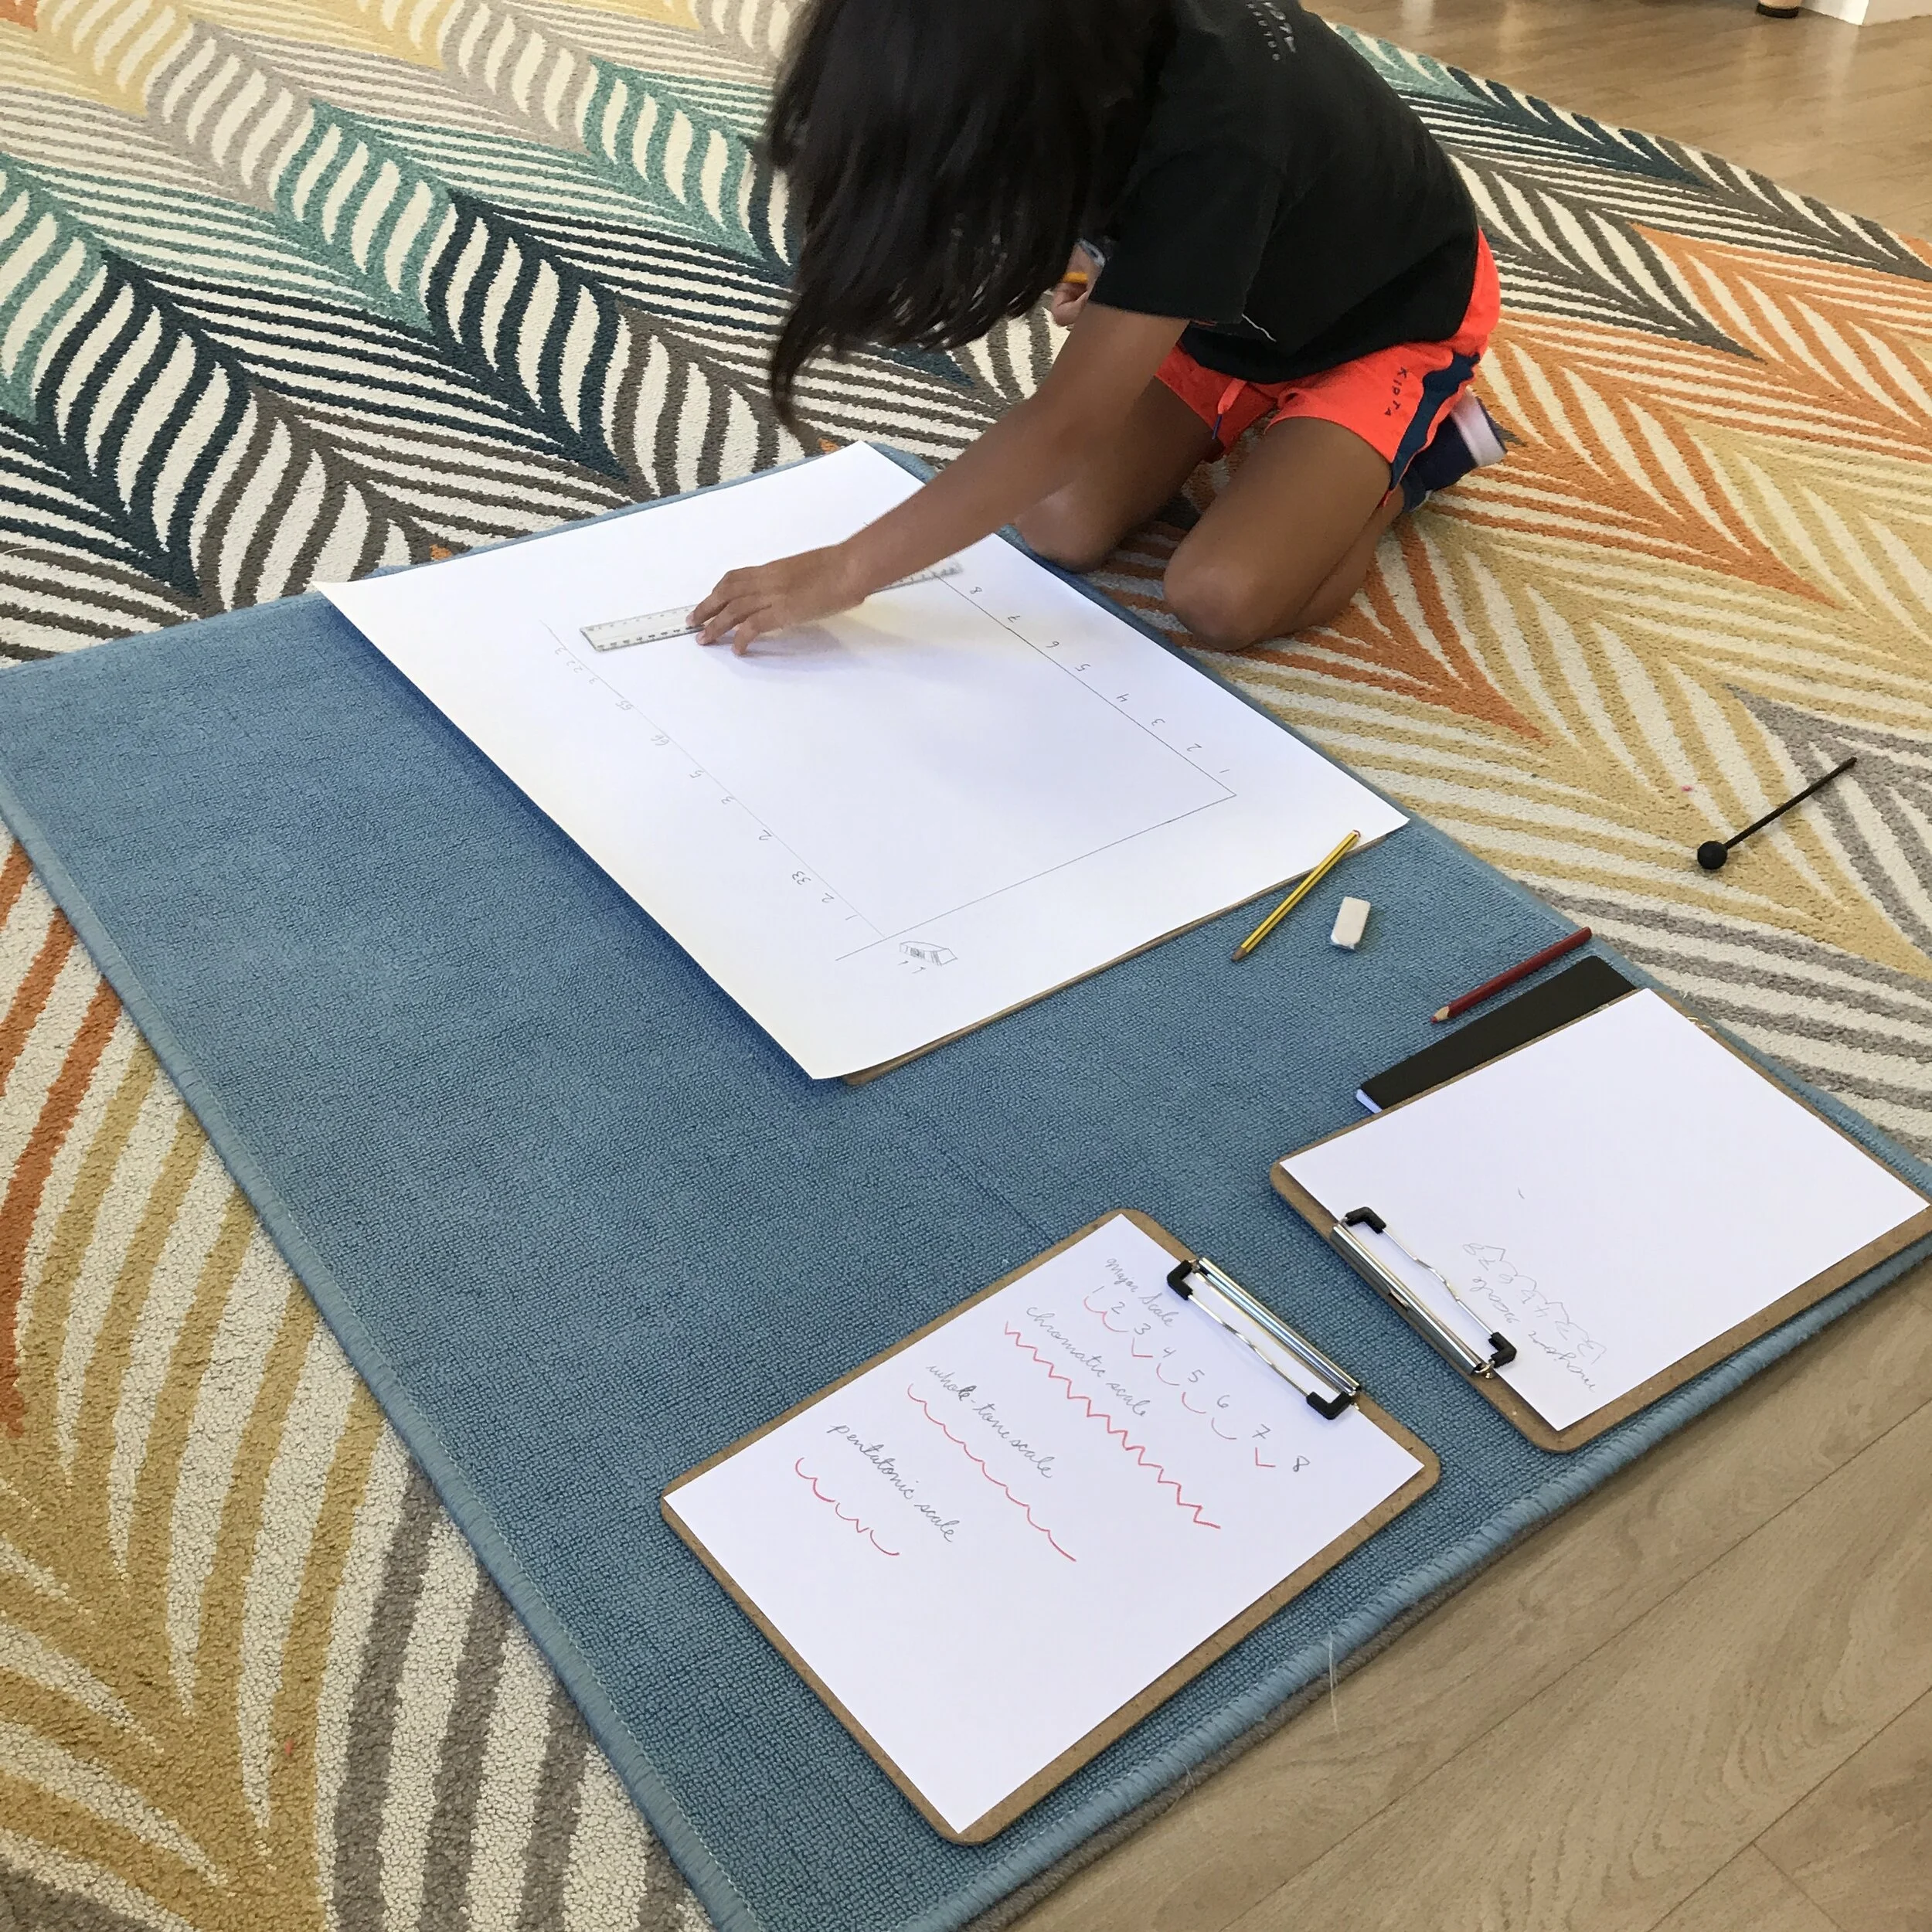
Degrees of the Scale Sticky Dots!
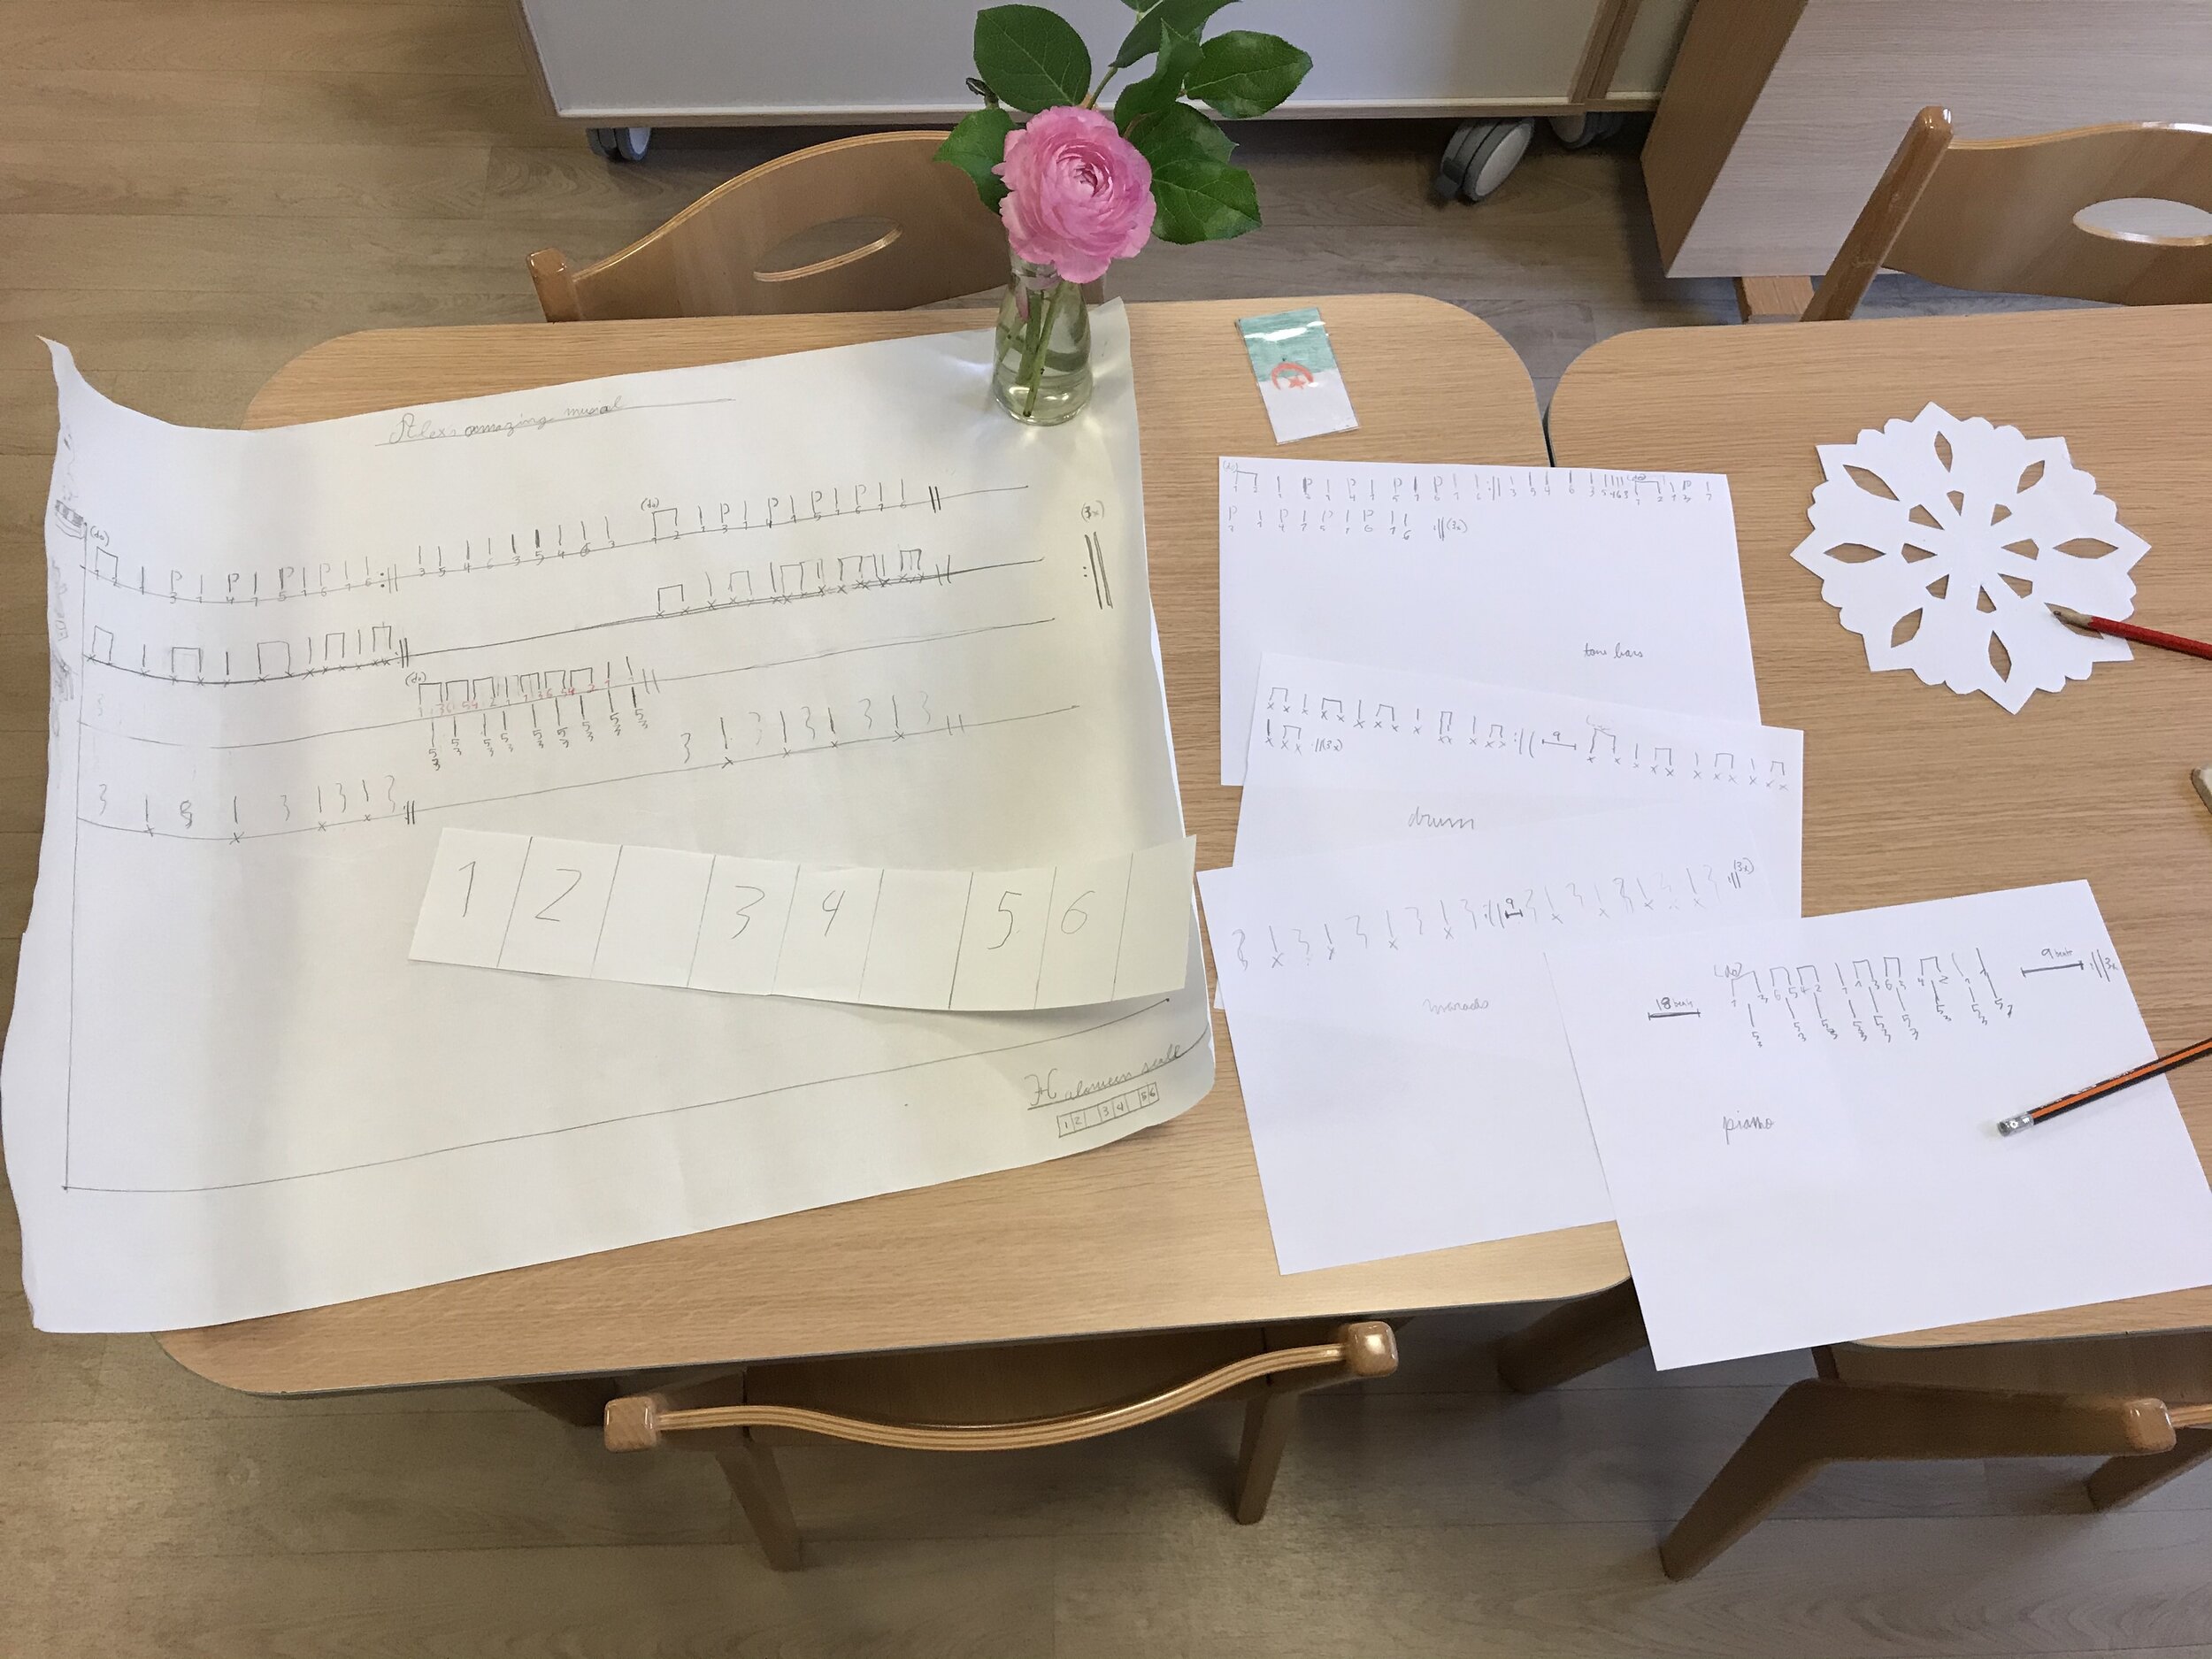
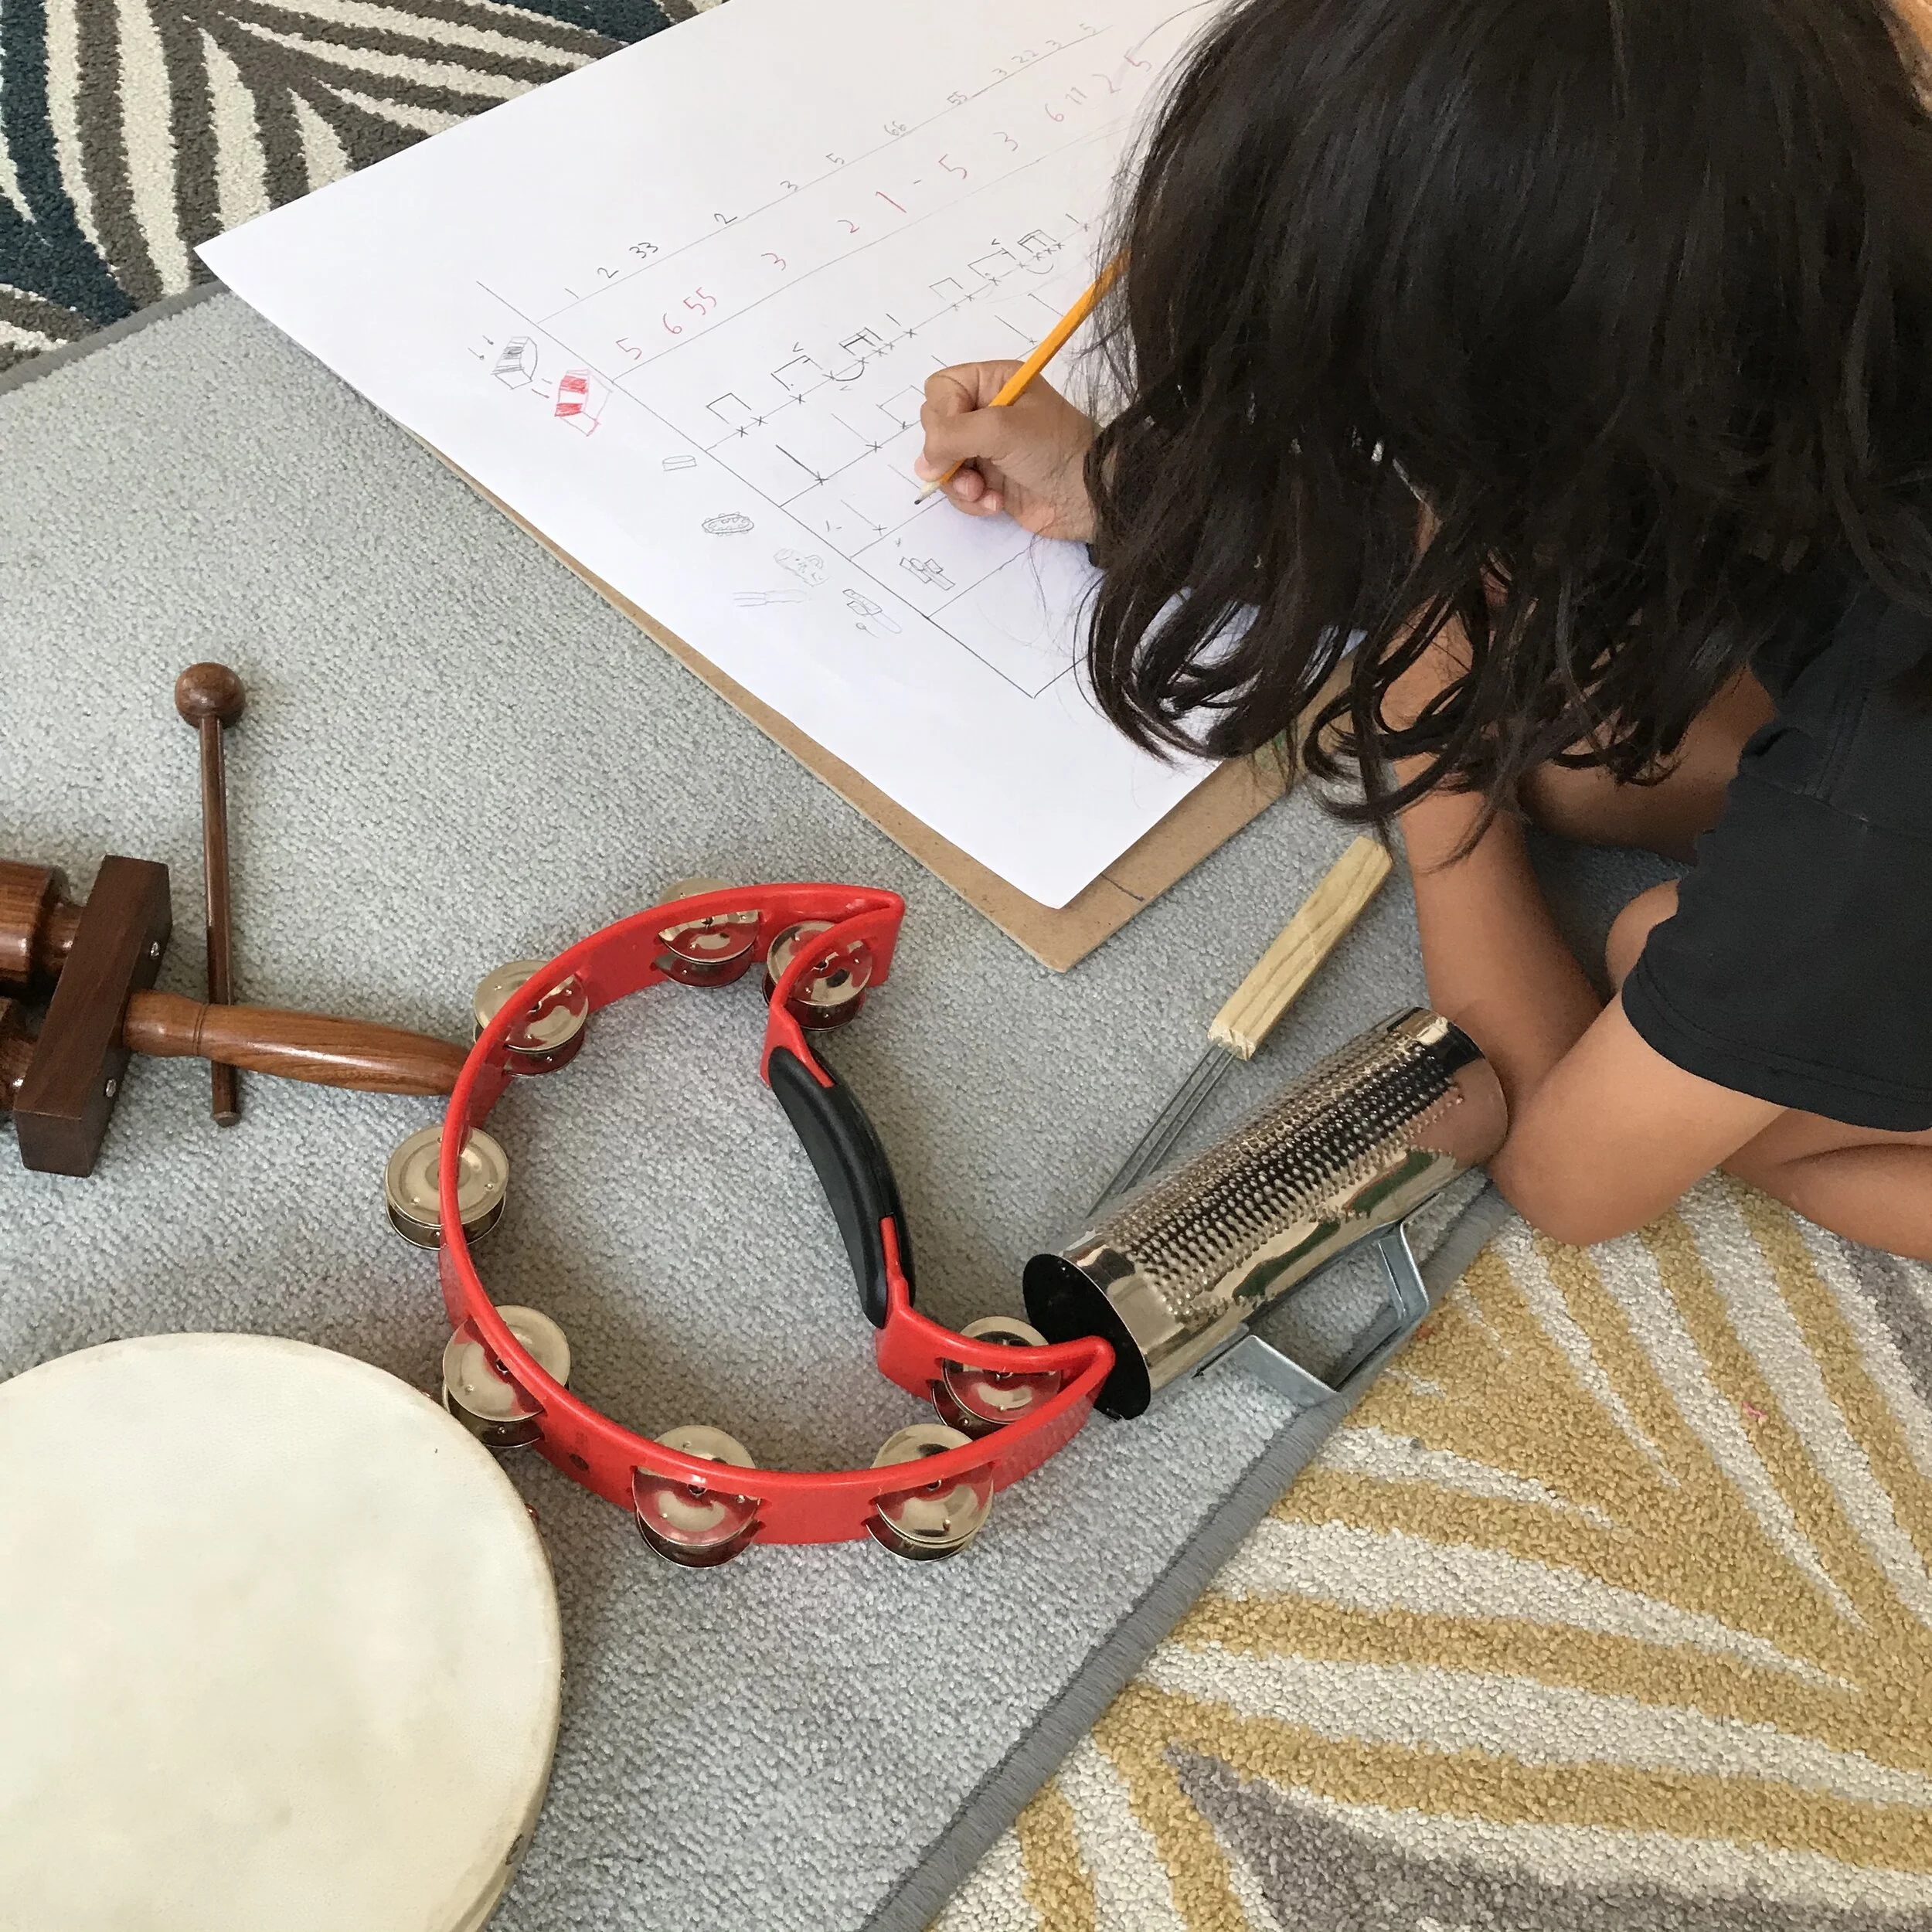
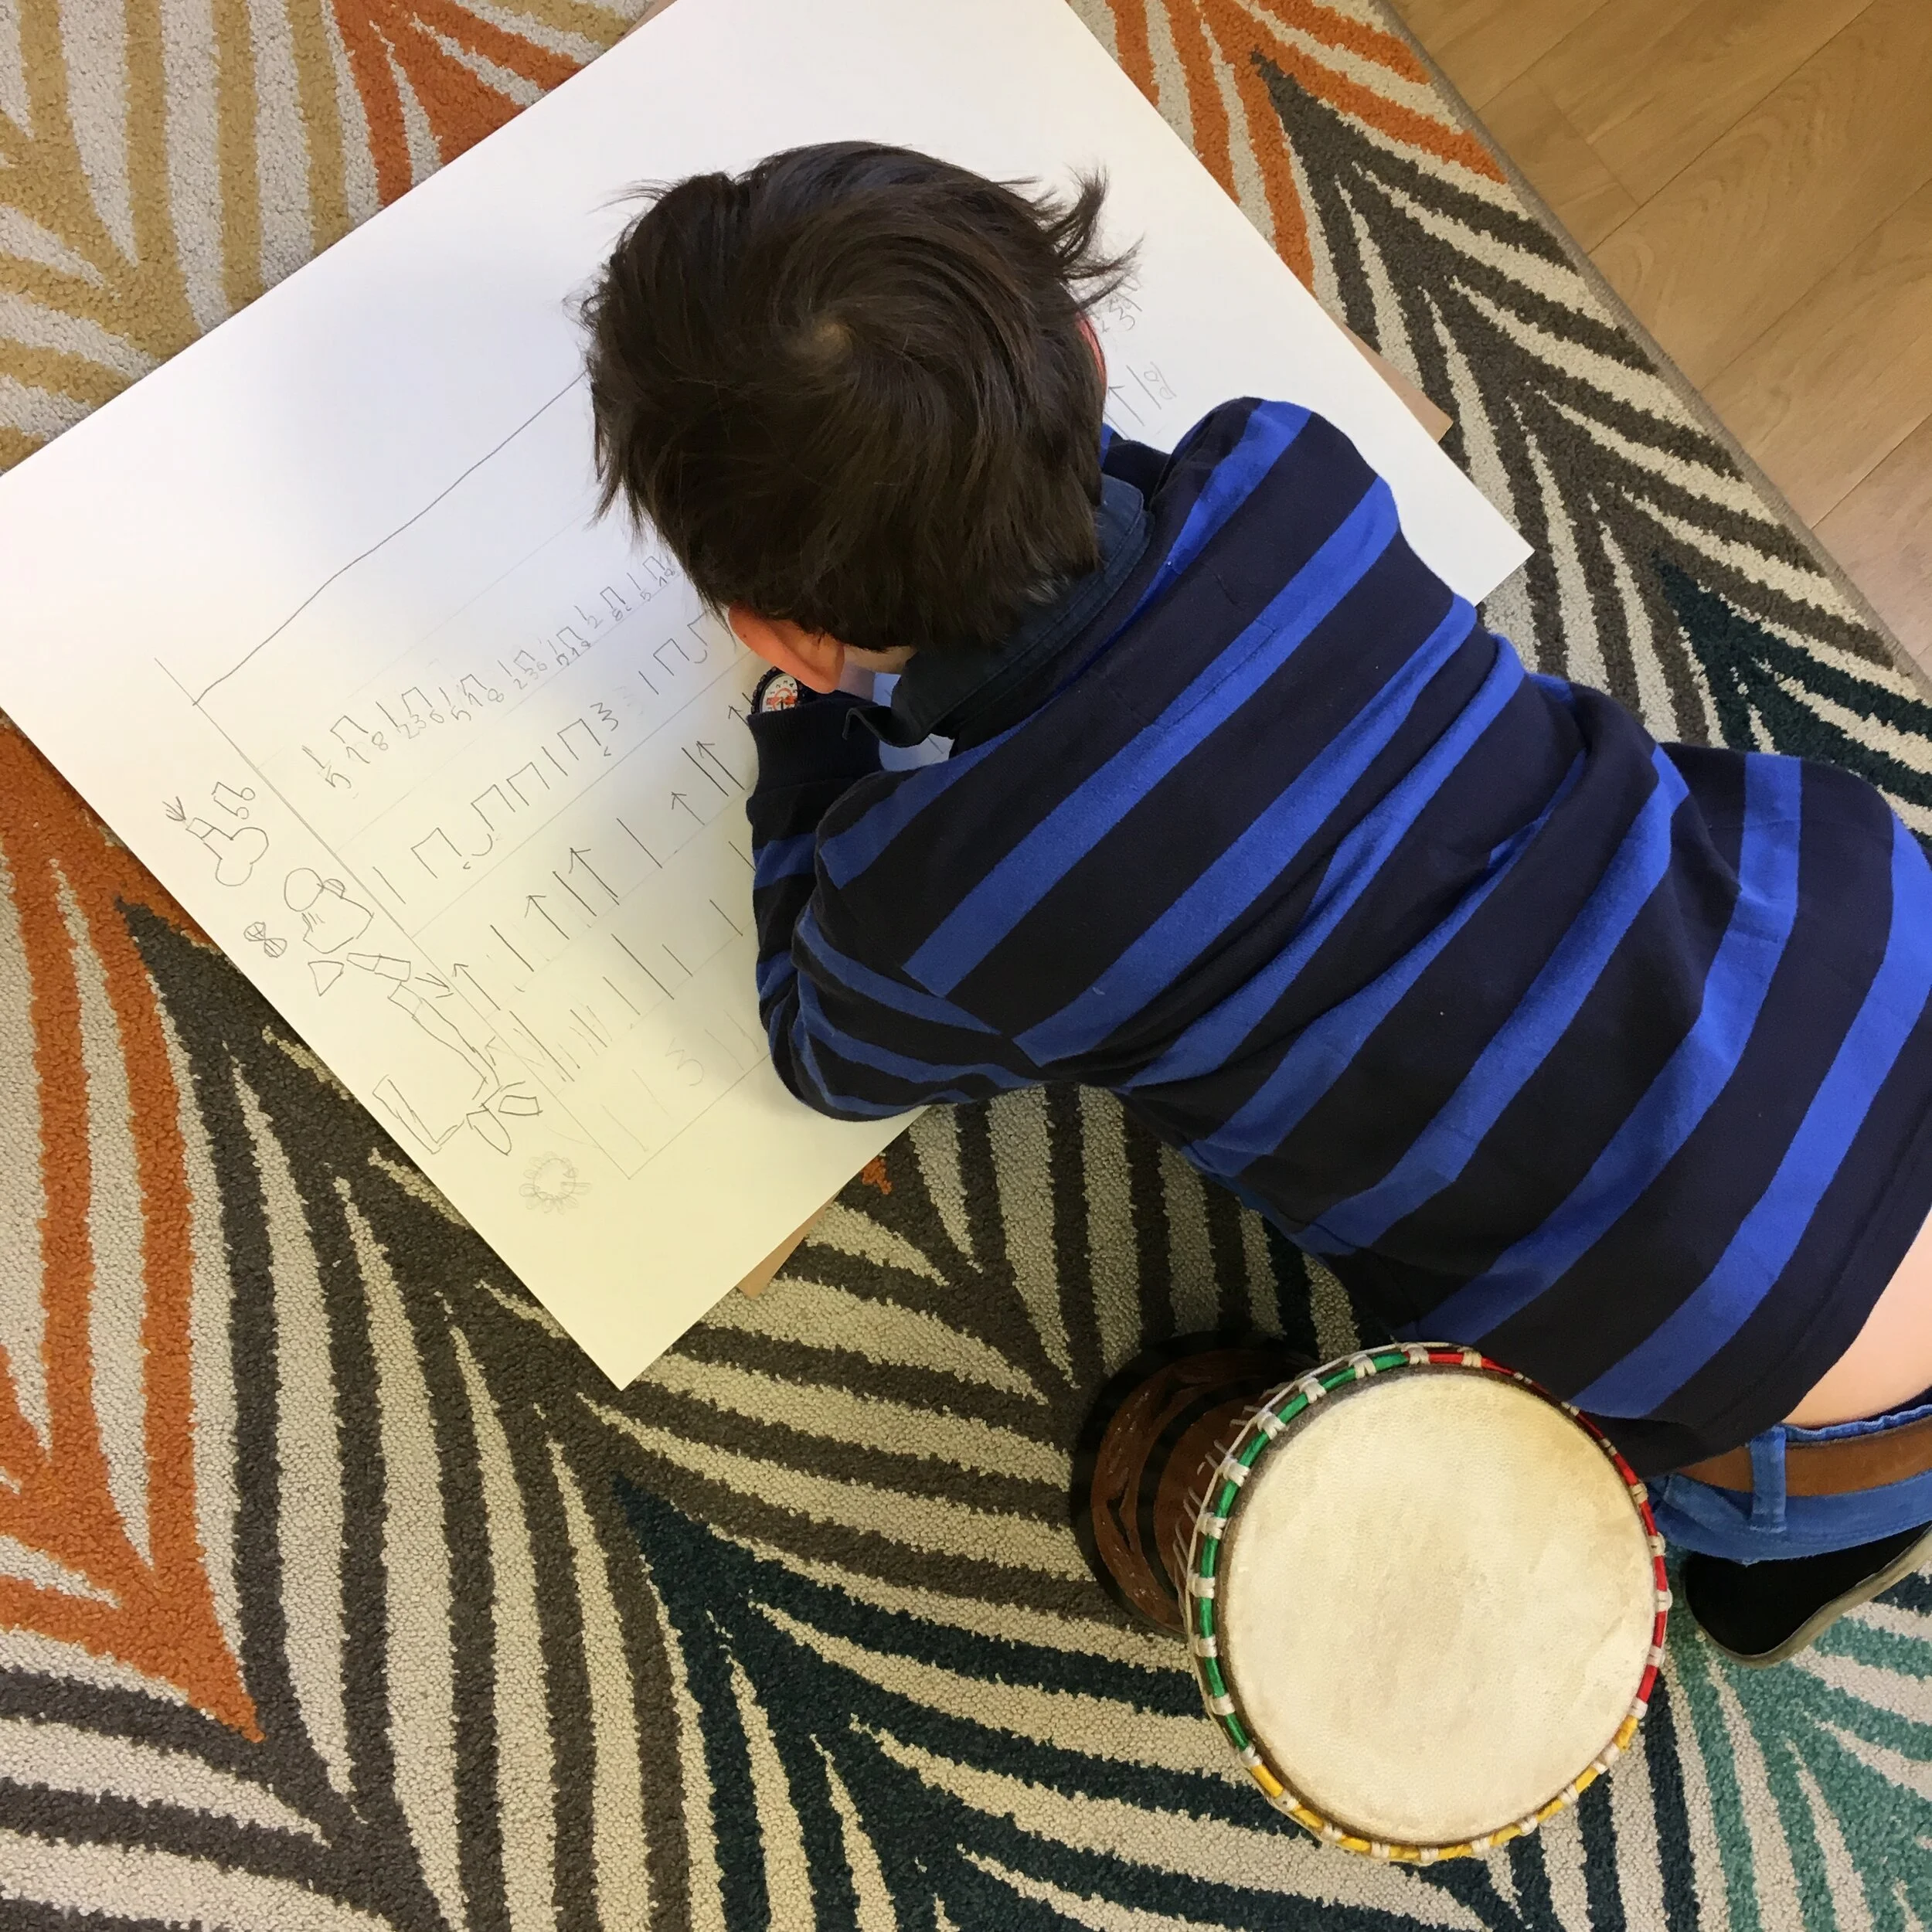
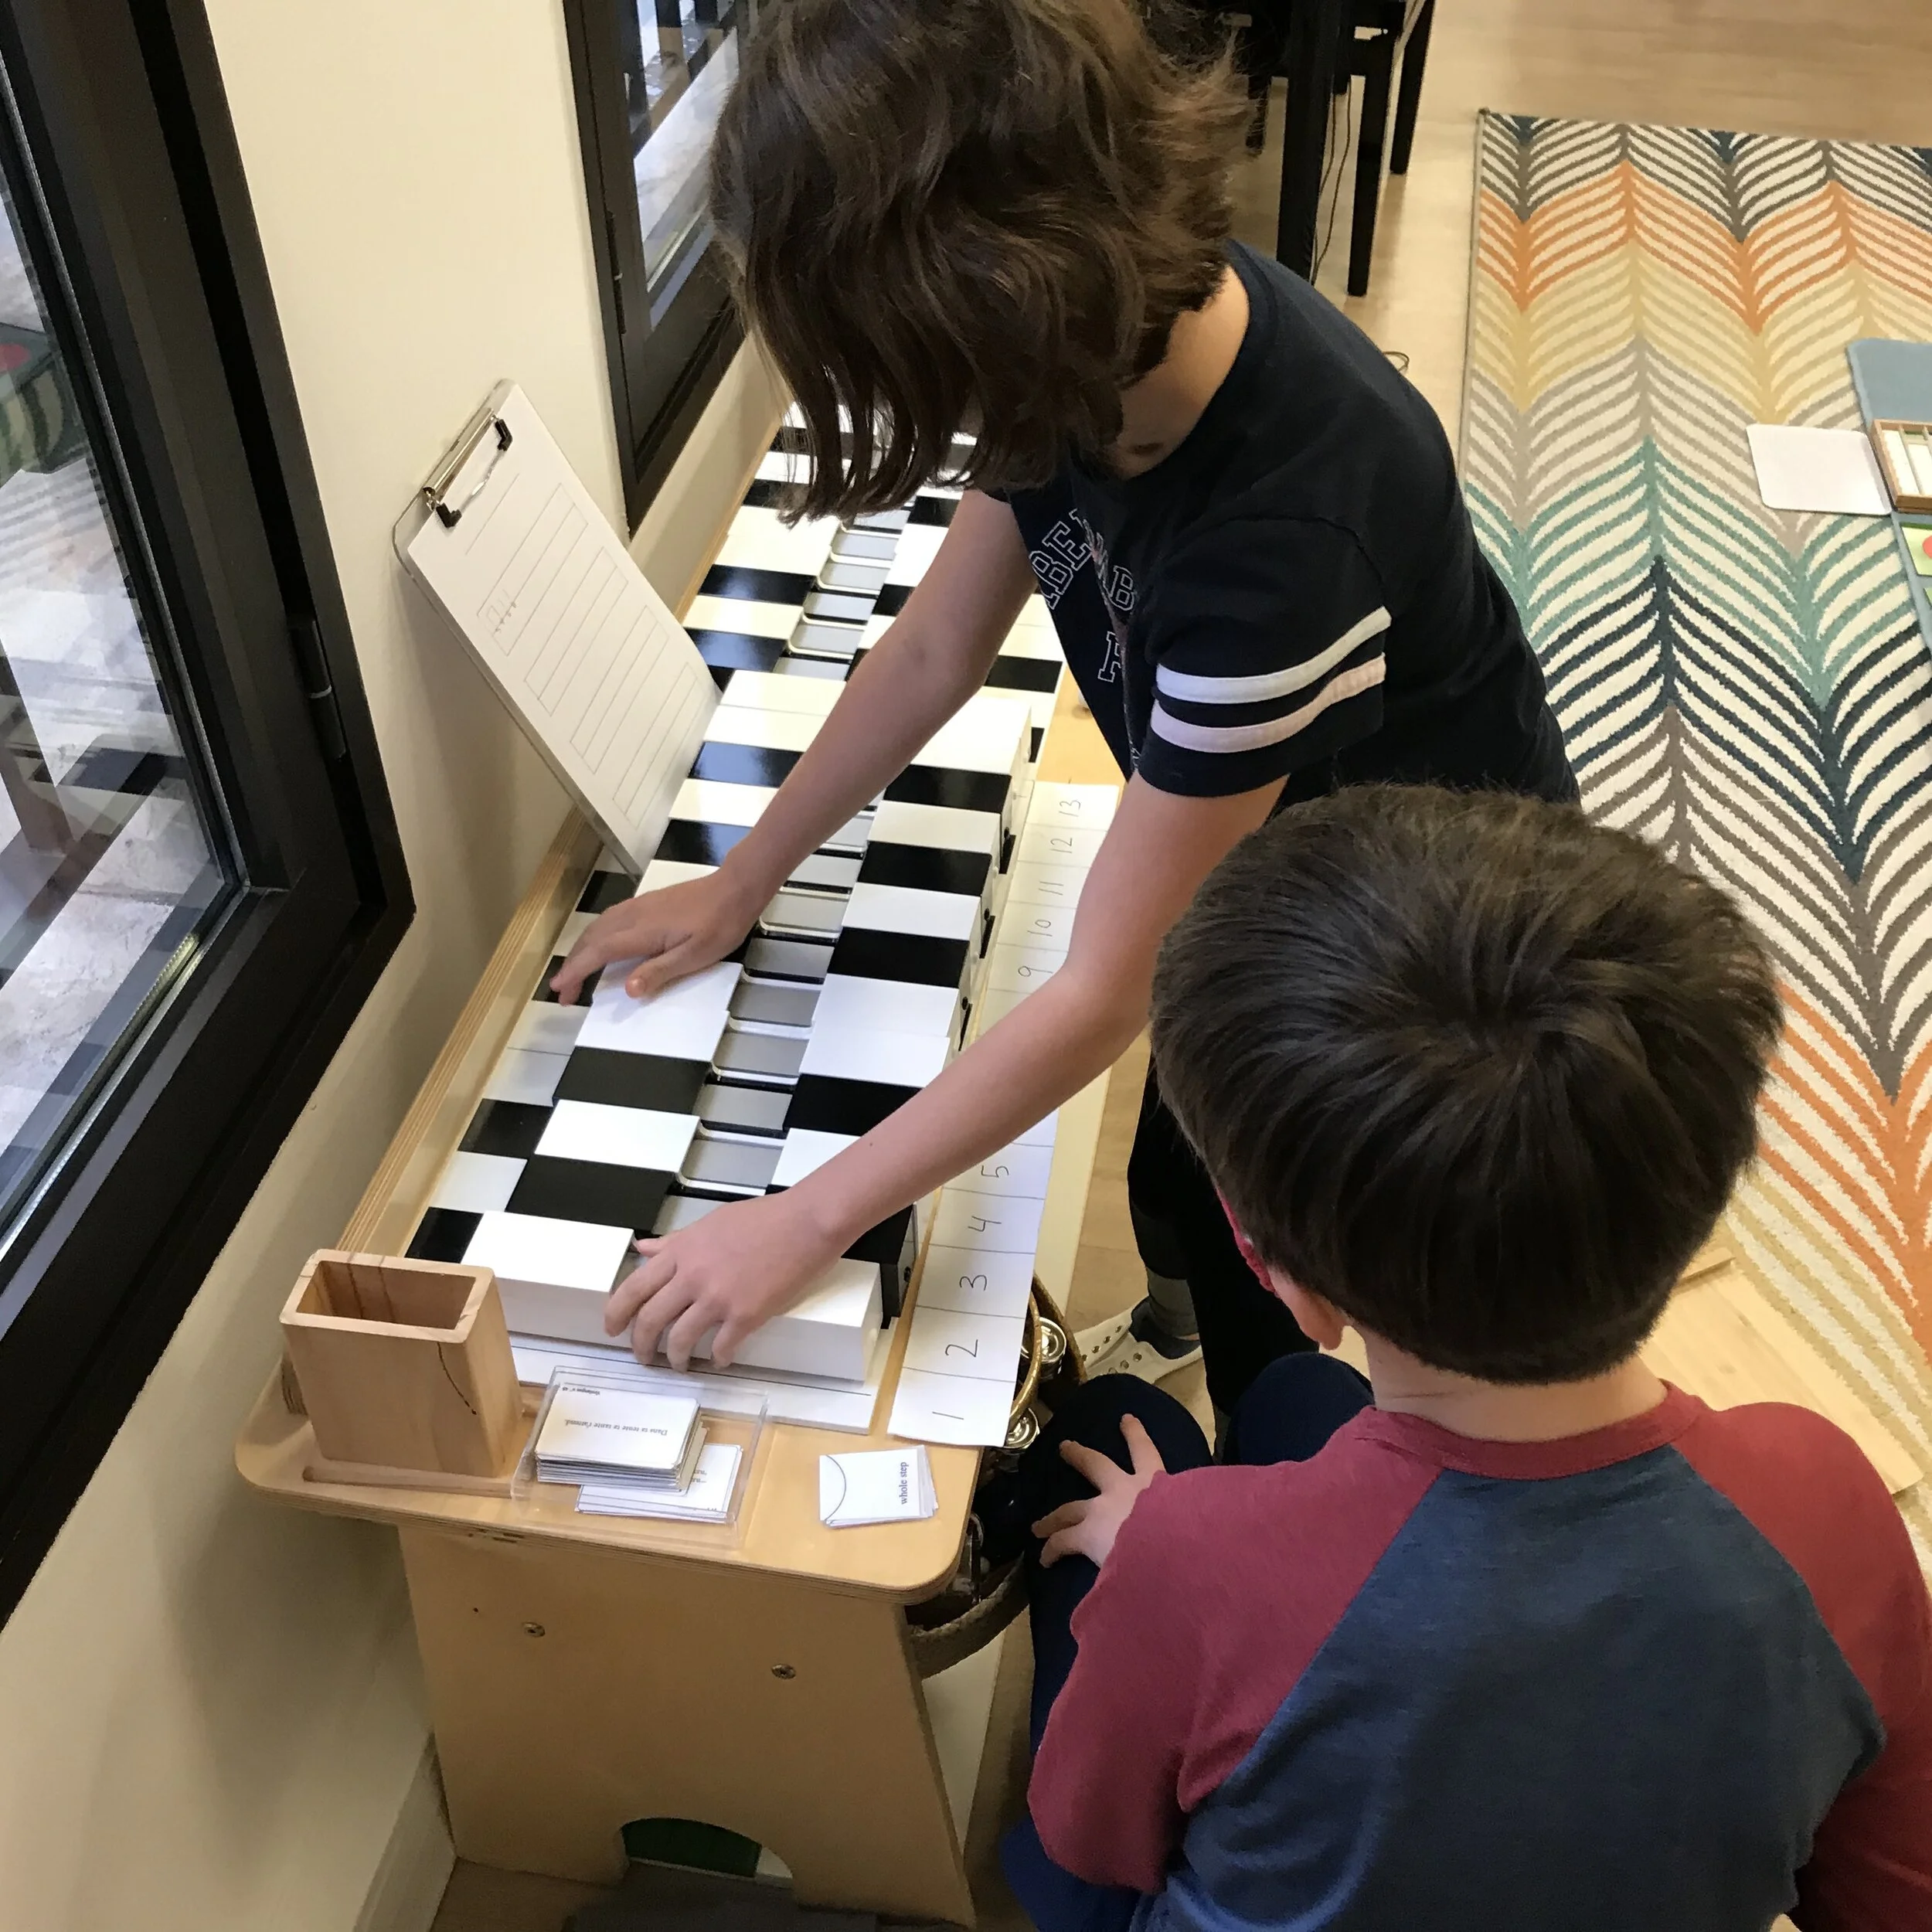
Hi, again! I just wanted to share an idea the children and I came up with. I presented the “Degrees of the Scale” lesson from my Montessori albums, and some children wanted to follow-up by playing the piano.

The problem was, the children wanted to know where the scale degrees were located on the keyboard. So, we took some colored sticky dots and placed them on the piano above the keyboard. Like so:
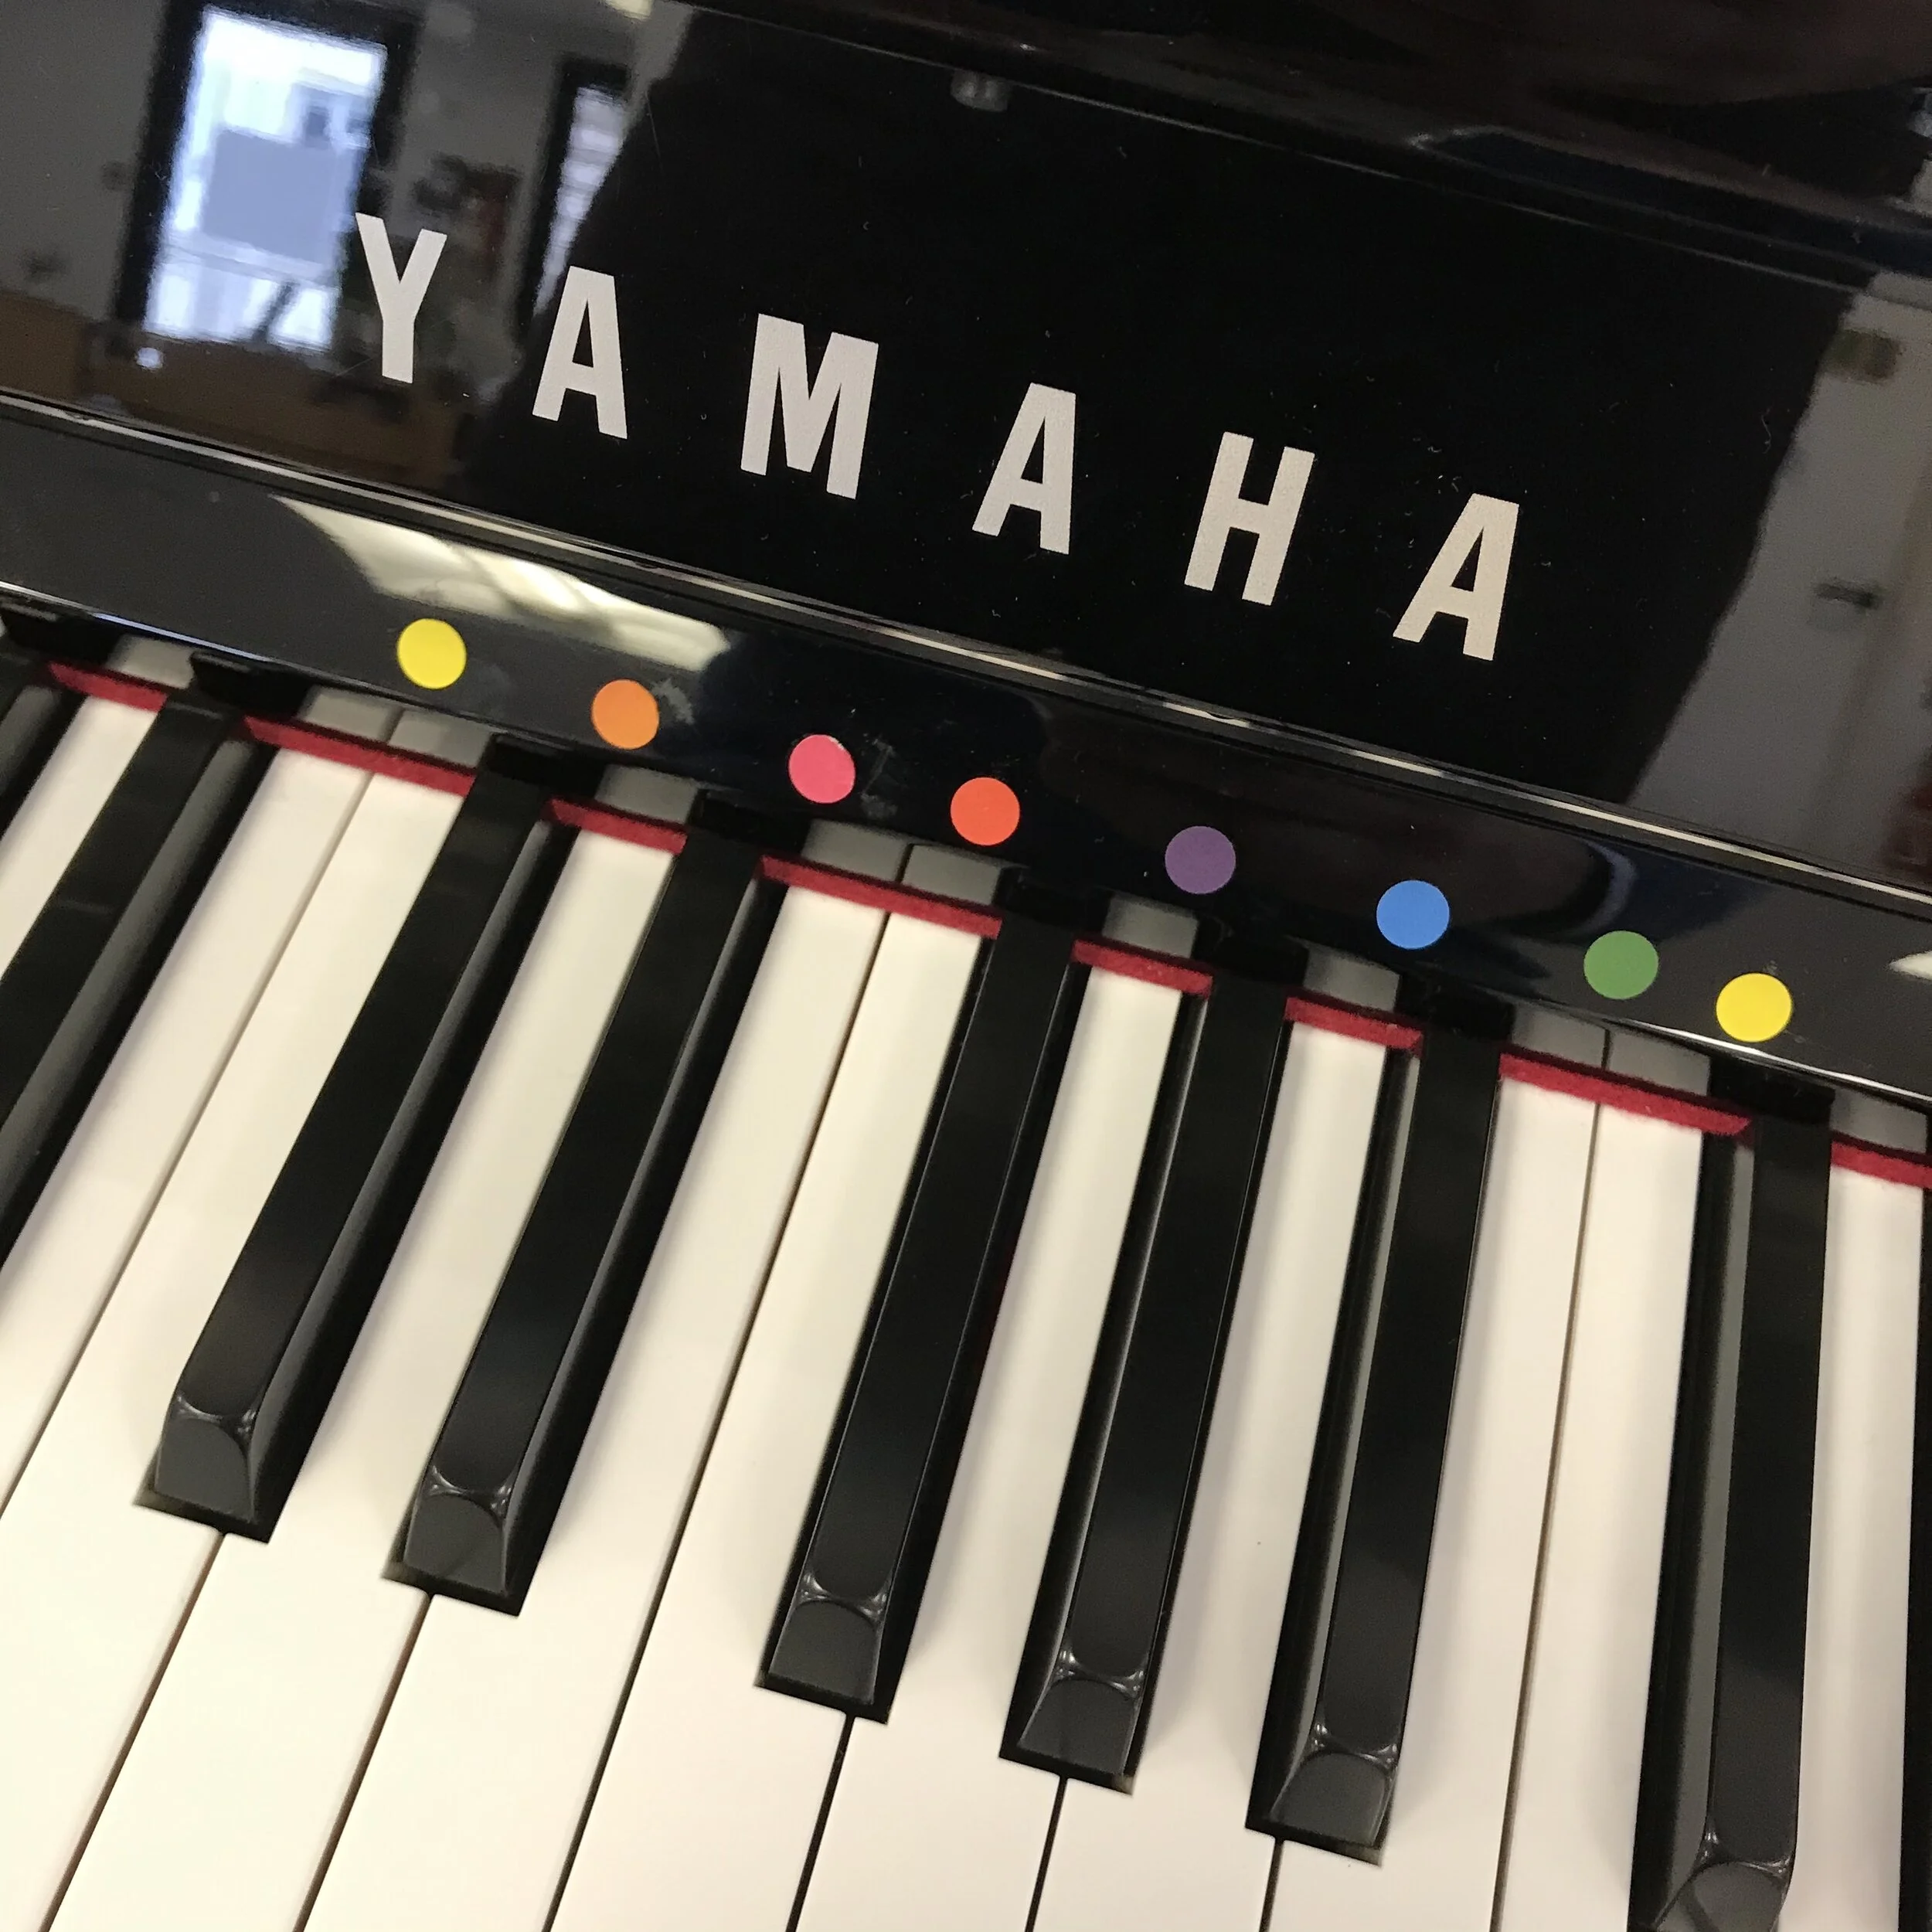
In this photo, you can see the stickers placed above the Do-major (C-major) scale. We had to use pink for the mediant, instead of brown. If you’d like to know what notes correspond to what scale degrees in what scale, feel free to shoot me an email.
The next step is to develop a transposing scale strip for the piano keyboard, like the ones we use with the tone bars. I’m working on it. I’ll keep you posted on how it’s developing.
For now, more later!